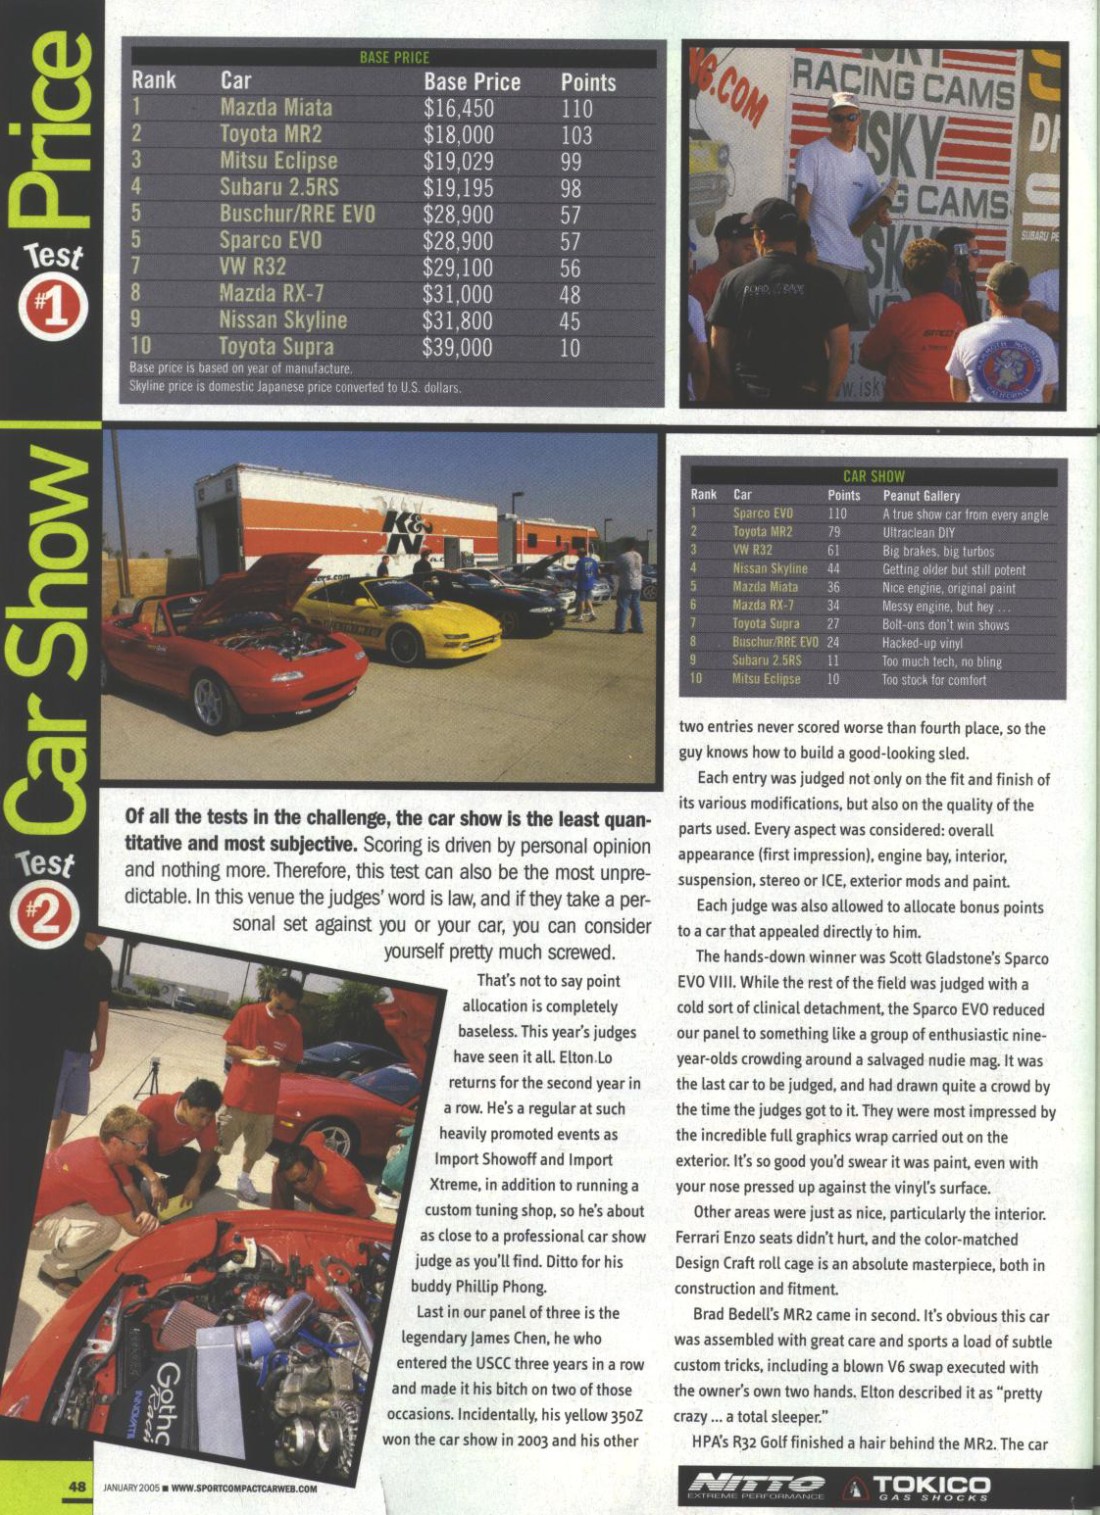
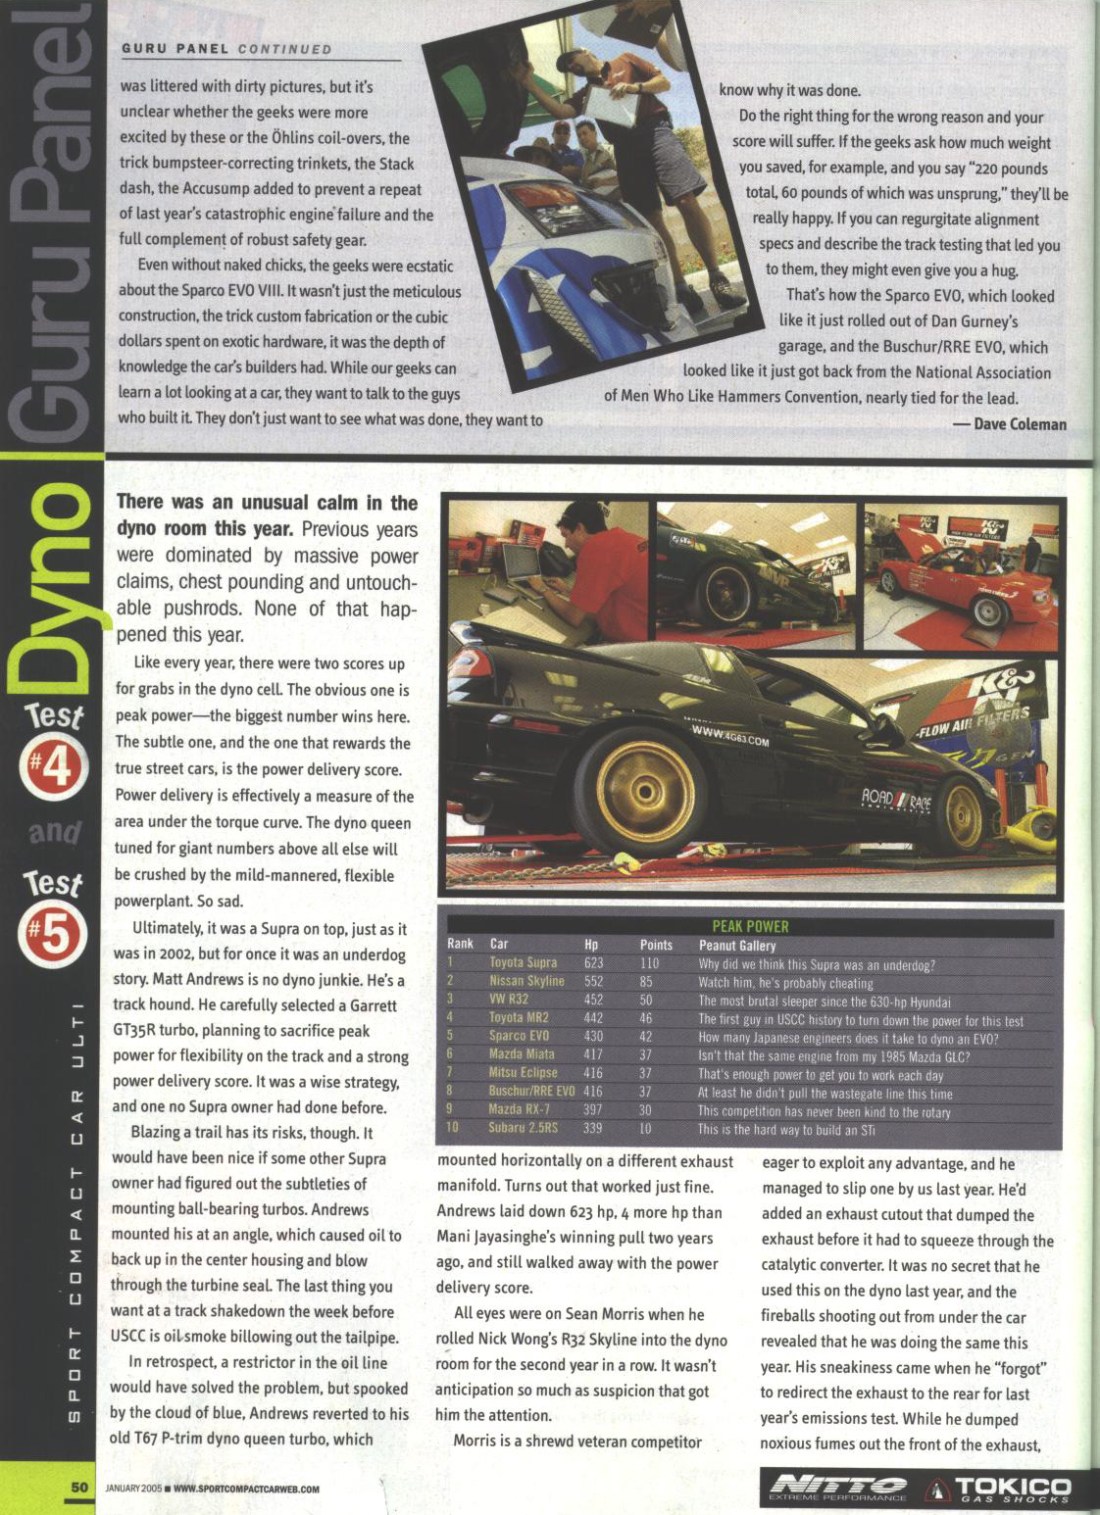
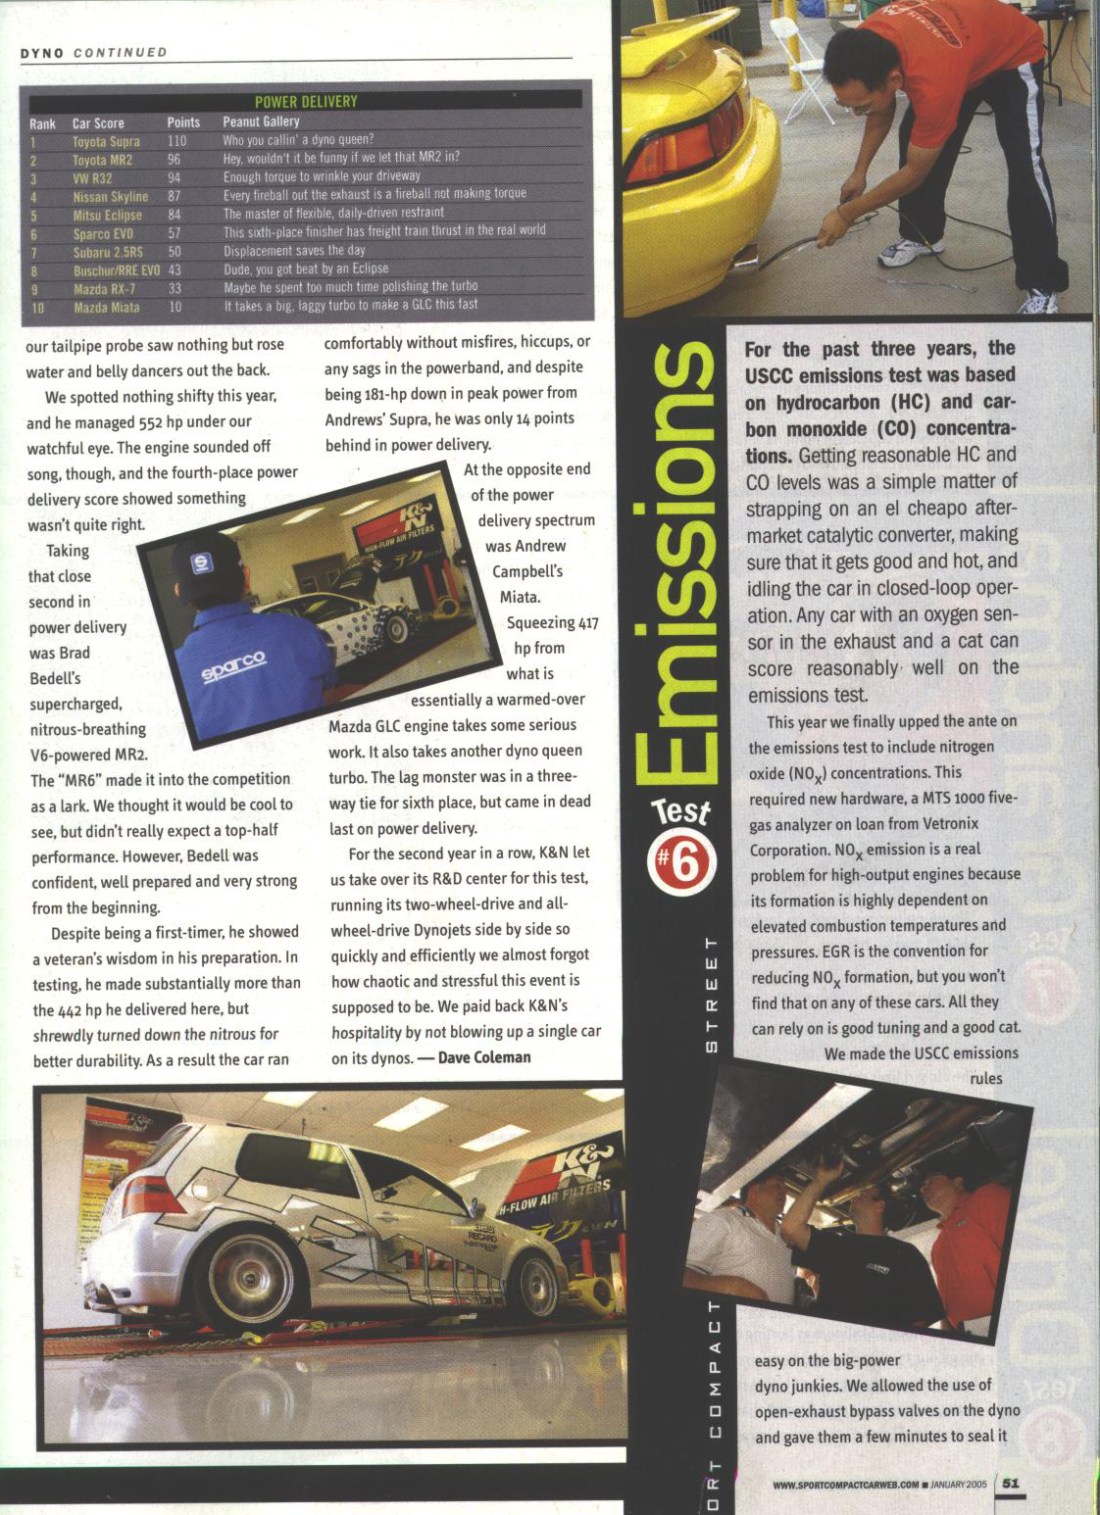
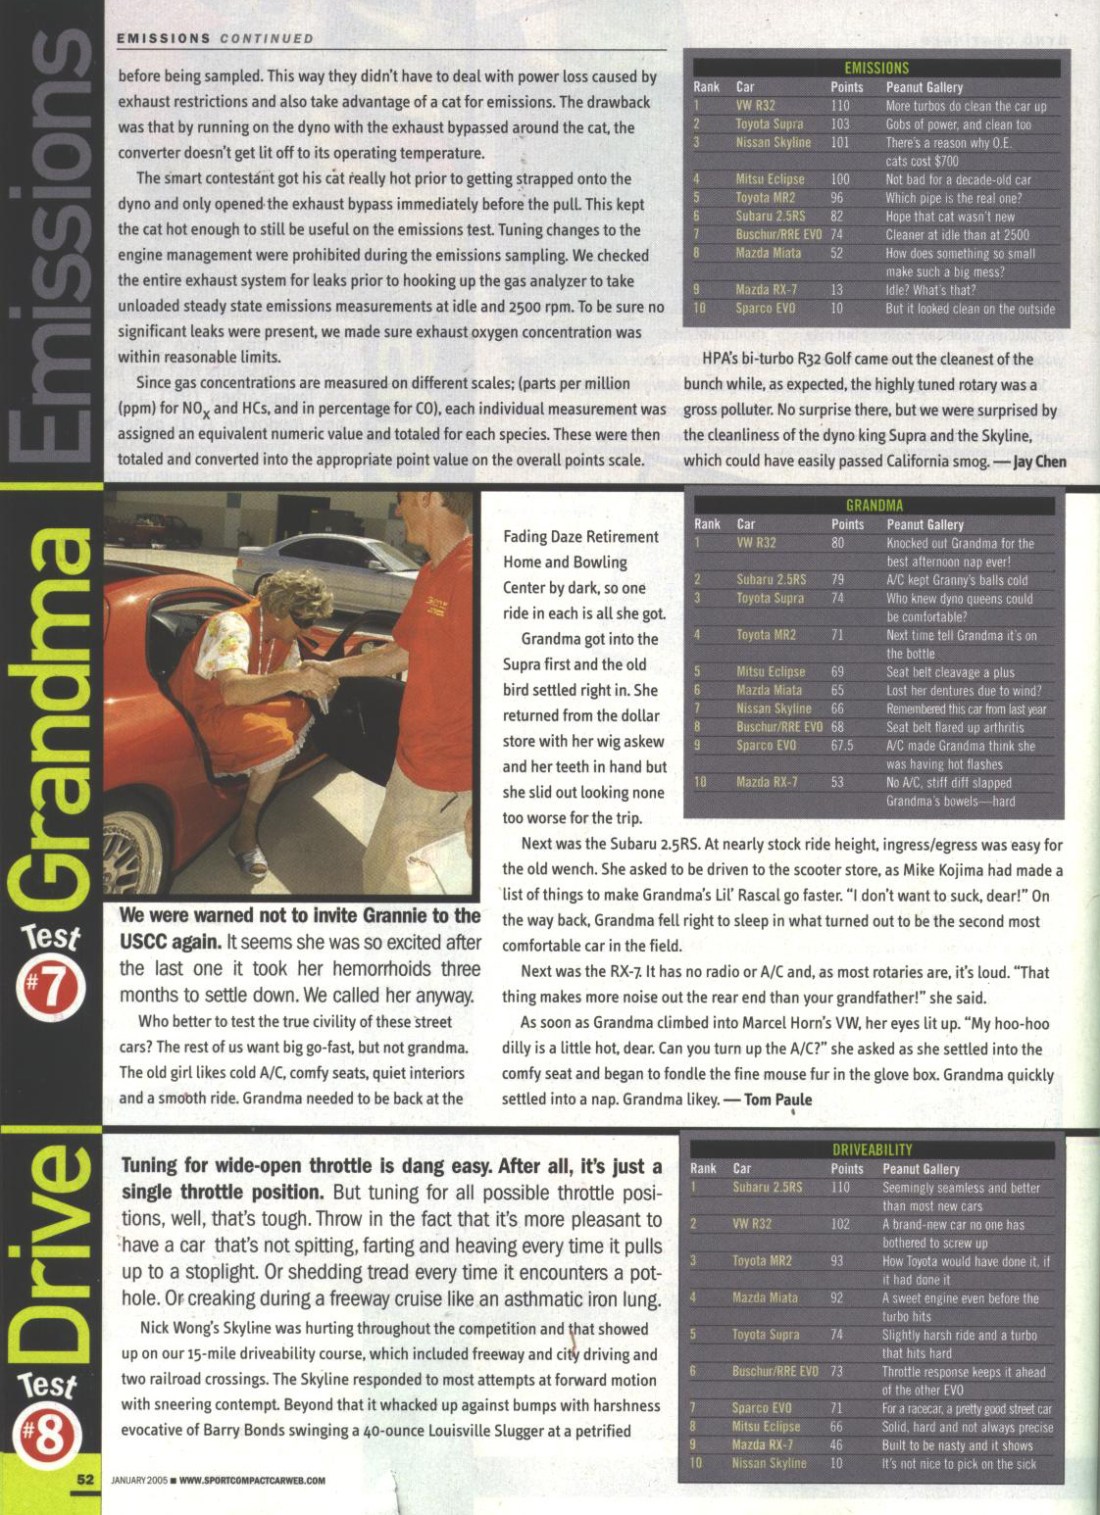
I’m going to start with a photo dump here and expand as I get time.
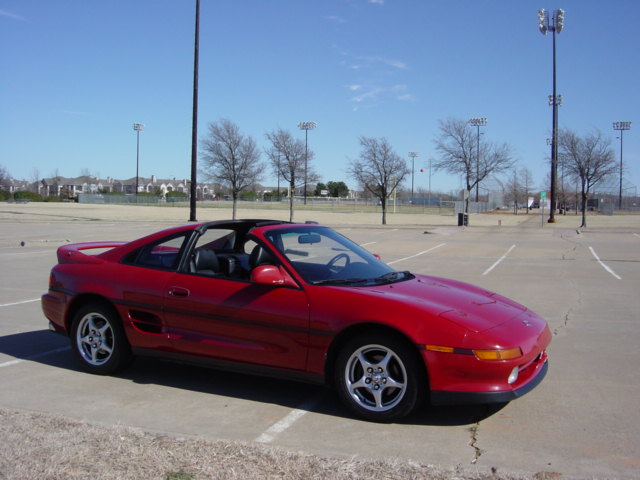
This was the way I got the car back in February 2003. The engine had a cracked piston, but it was a great and solid chassis, the previous owner really was detail oriented. All in all, it was a great find.
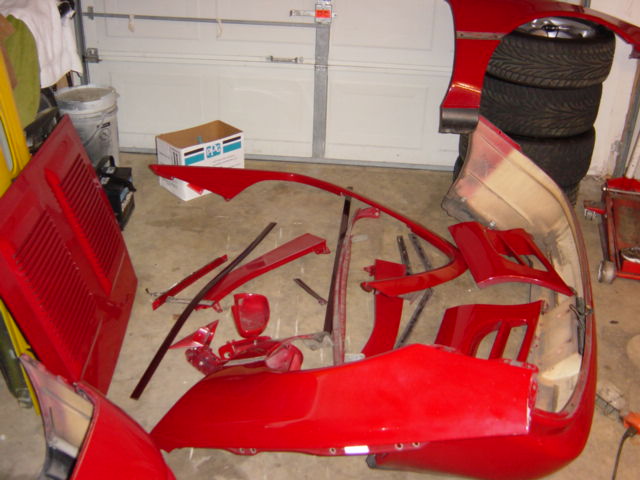
Needless to say, I got after disassembly pretty quickly. I think I tore it down in a weekend.
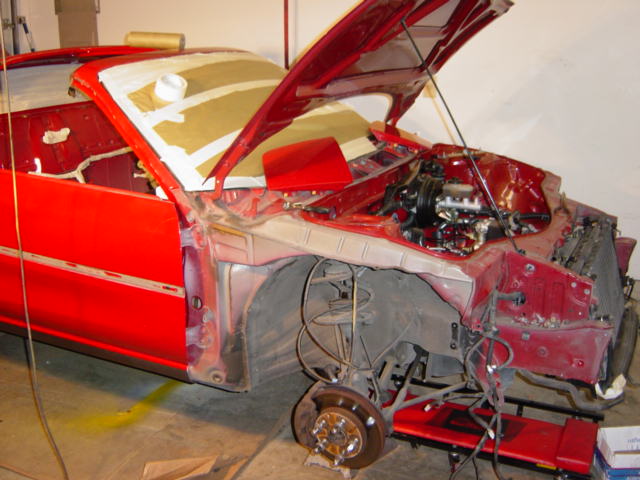
Another shot of the disassembly process.

Man, there’s a lot of little parts. Notice the JDM 98 mr2 wheels?
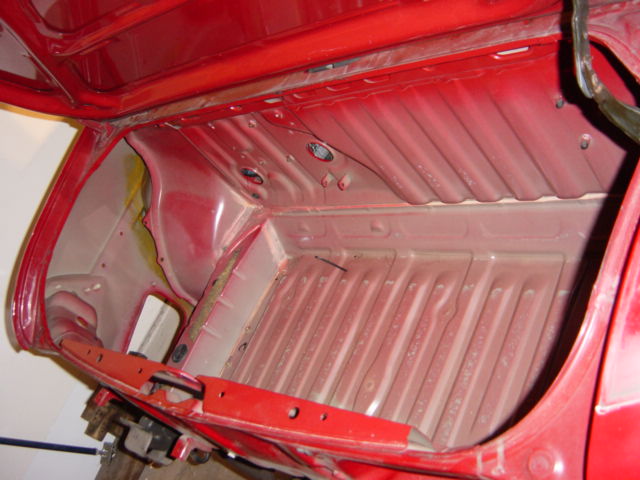
The trunk is all gutted. I eventually take it off, but I’m not sure If I got that photo.
In retrospect, I’m not sure why I didn’t remove this stuff. but it didn’t matter much.
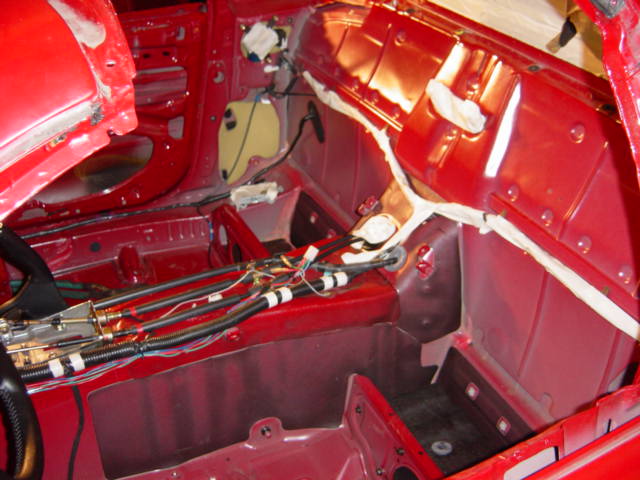
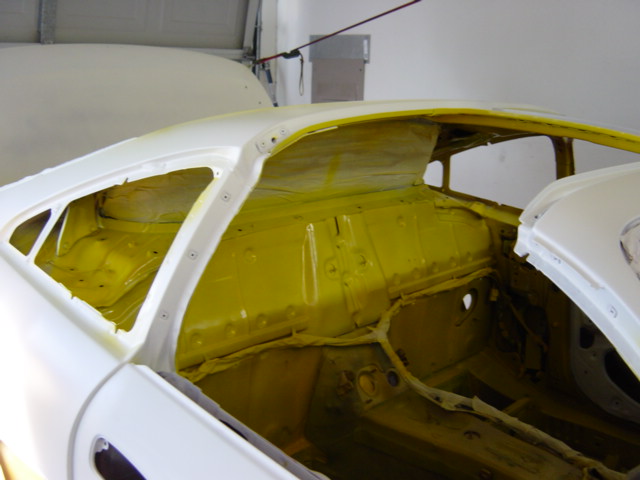
Another shot of the interior.

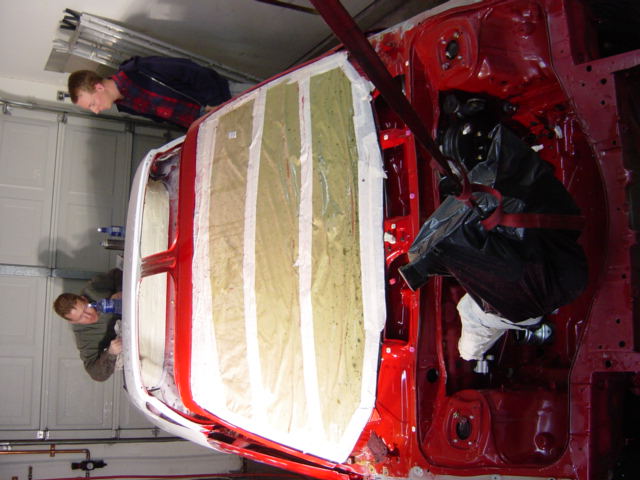
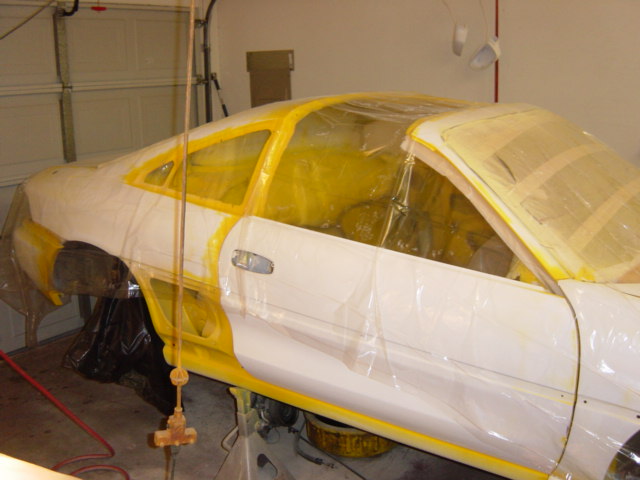
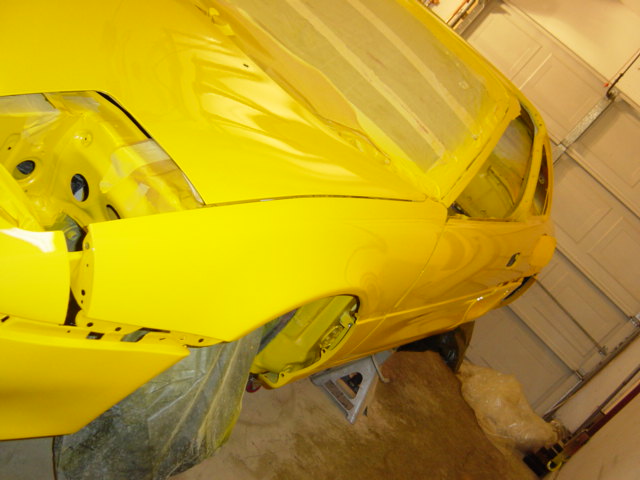
Taped inside and out. I had started on some exterior primer at this point.
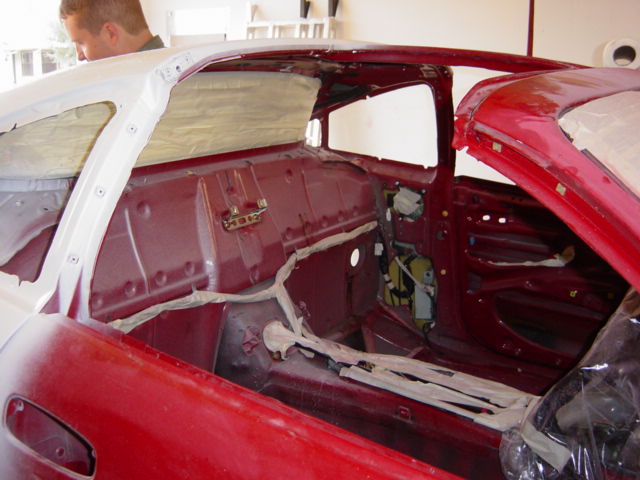
This was my first time through. In later cars with a colour change, I pulled everything out.

Dash and wheel wrapped well.

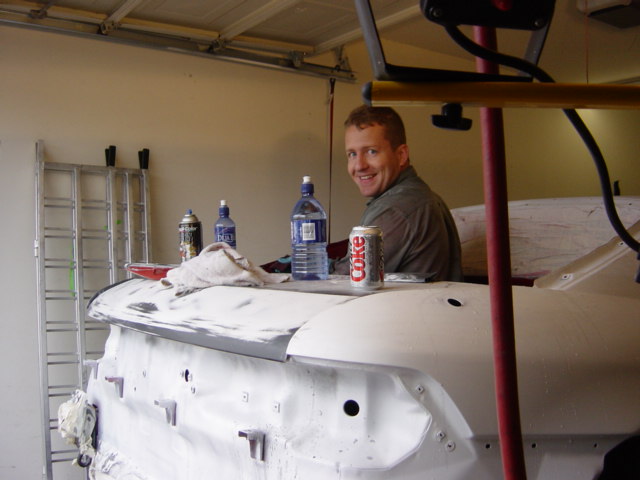
I had a serious diet coke addiction back in the day. I’m glad I kicked that habit.
The previous owner, William is visiting.
I forget how I’m suspending the wiring. clearly a motorcycle strap, but I think I put a hook In the ceiling or something.

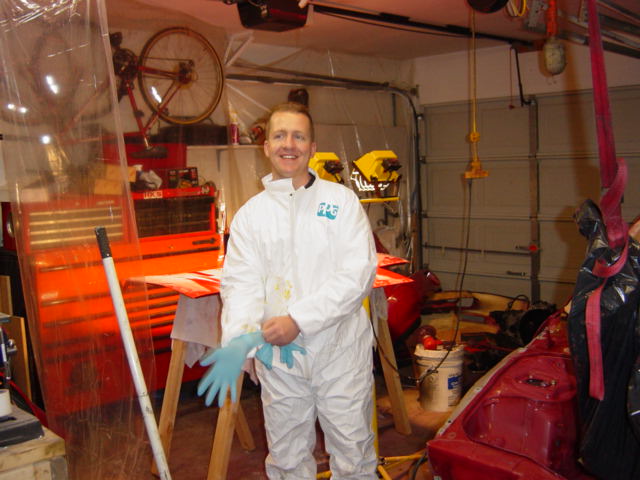
Plastic up, ready to spray more primer and I think some color this day.
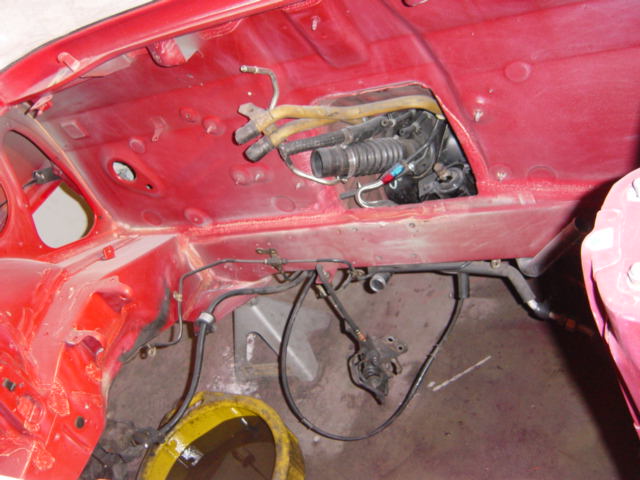
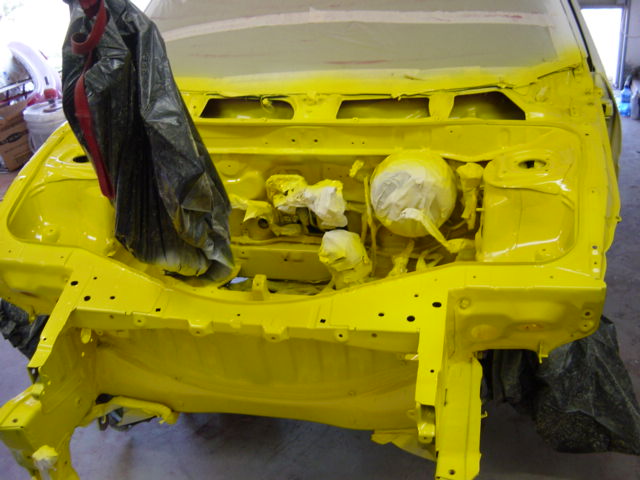
Random shot of the engine bay.
Those lights kept me warm. I recall it being very cold that year.
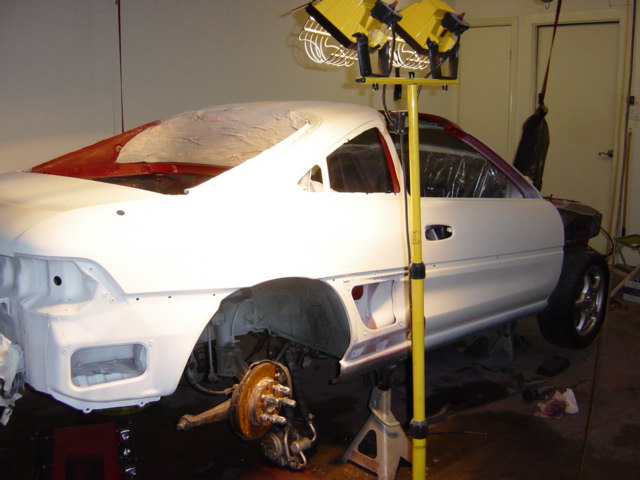
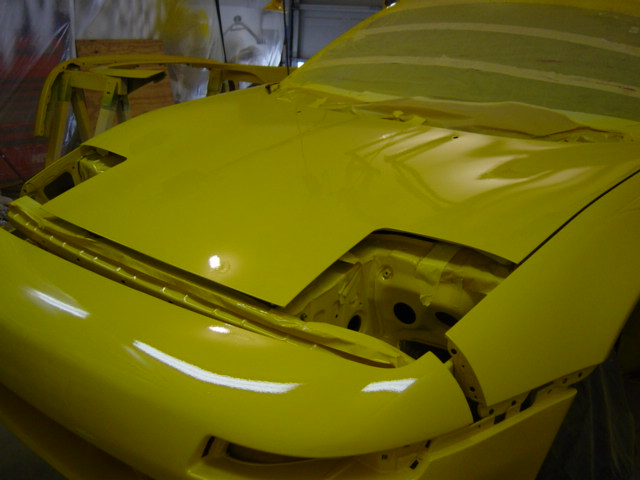
Primer coat.
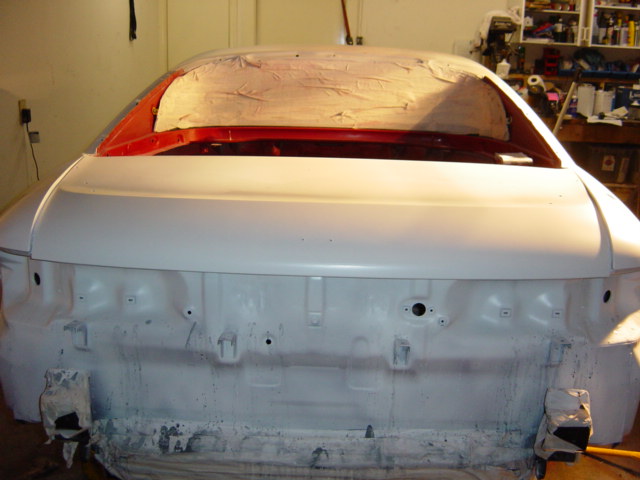
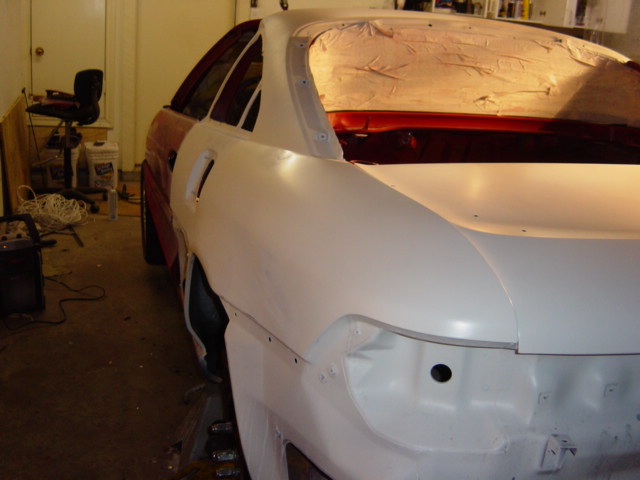
Another shot of the primer.
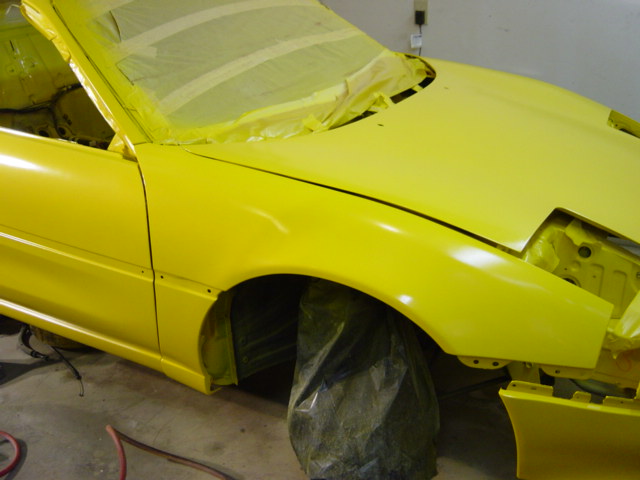
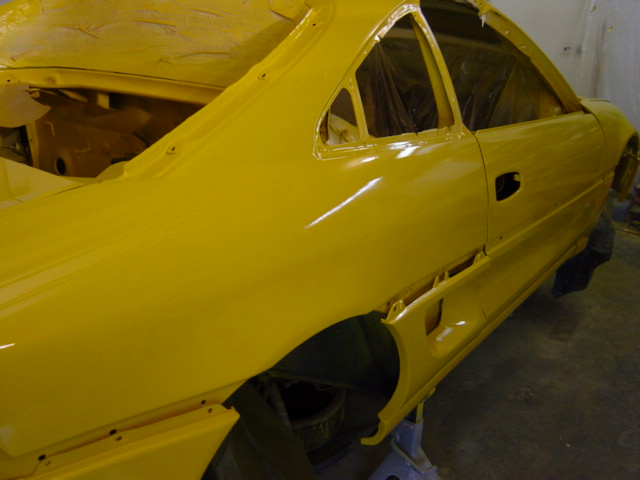
This was the base coat. Before I sprayed clear in.
Another angle. Notice the labels from the factory are still present. They bled through. It was a very nice ‘bonus’ touch.

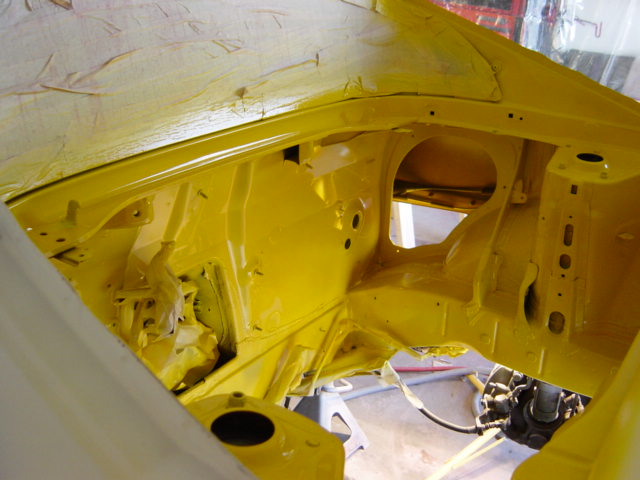
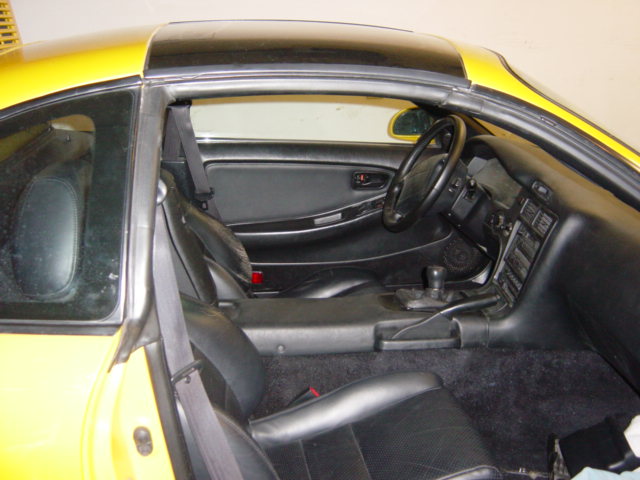
Some of the Interior.
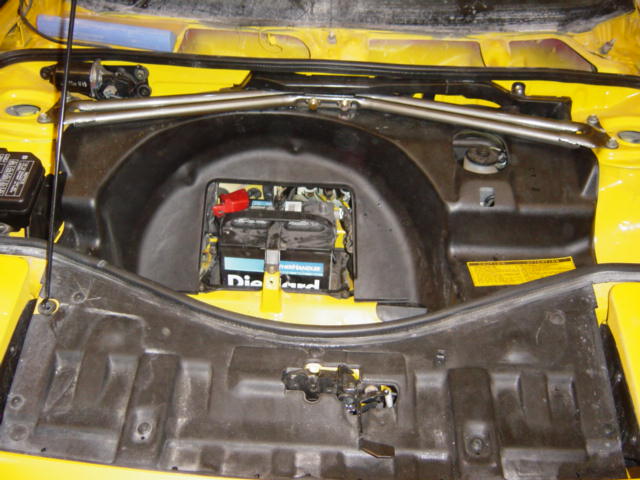
Engine bay.

Trunk.

Another angle of the engine bay. I mixed base/clear for this job. It ended up a little flat, but proved to be durable over the years.
Since this was my first time through with a tri-coat, I wanted to shoot as much of the car at one time as I could So I assembled everything I could.

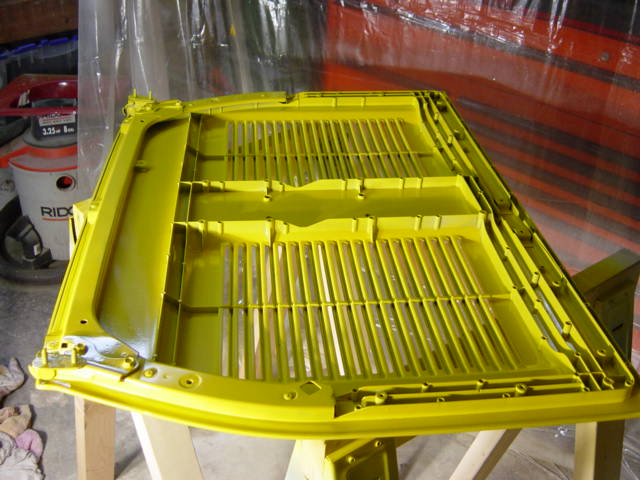
Engine lid.
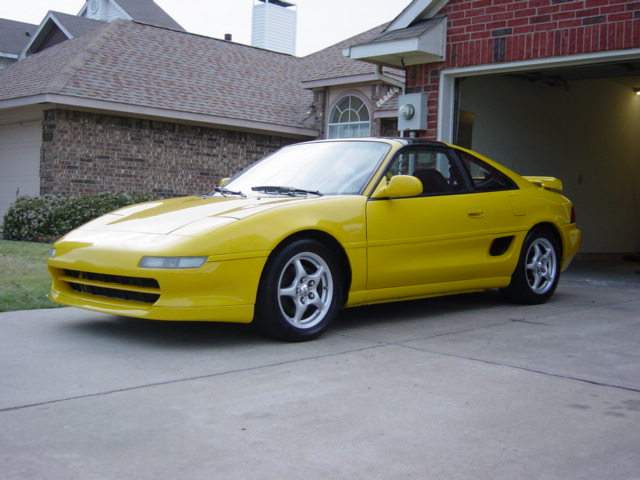
Random shot of the car.

Lots of pieces parts!

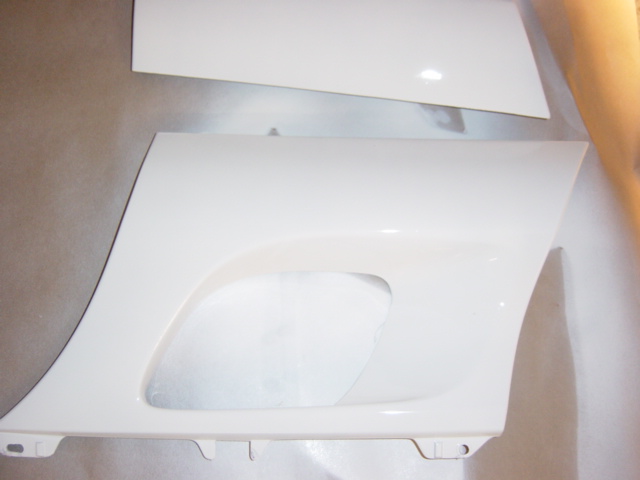
Modified side vents.
I think this one is out of order. I believe I was shooting the small parts here.
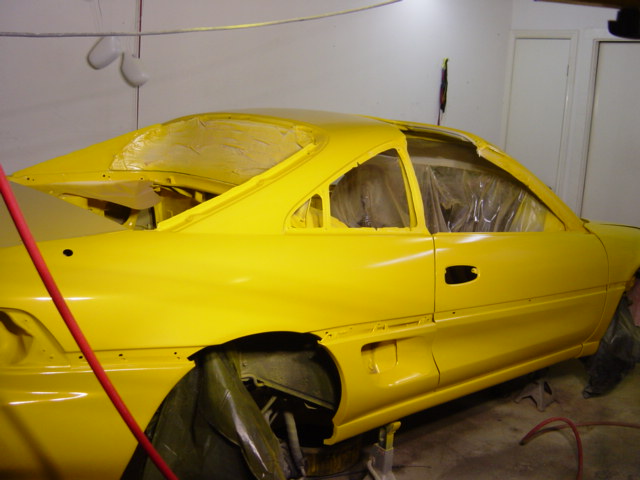
Base and pearl is on here.
Another of the base/pearl. Notice the mirrors hanging?
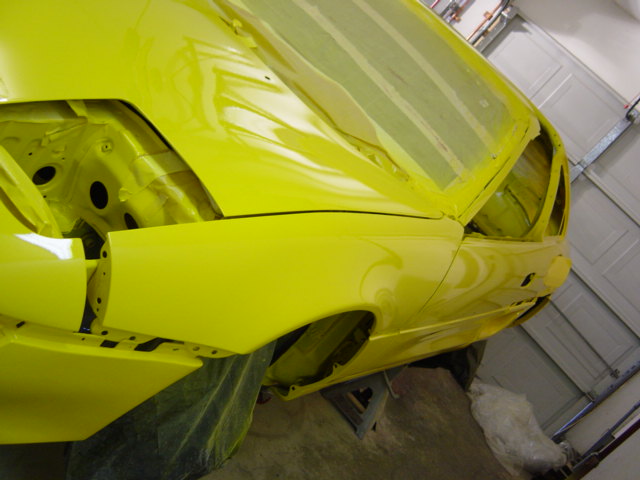
I’m pretty sure clear was down here.
Clear is drying. This one was late after I was done and letting stuff dry.
Another Angle.
Front trunk area. Starting to get it all back together.
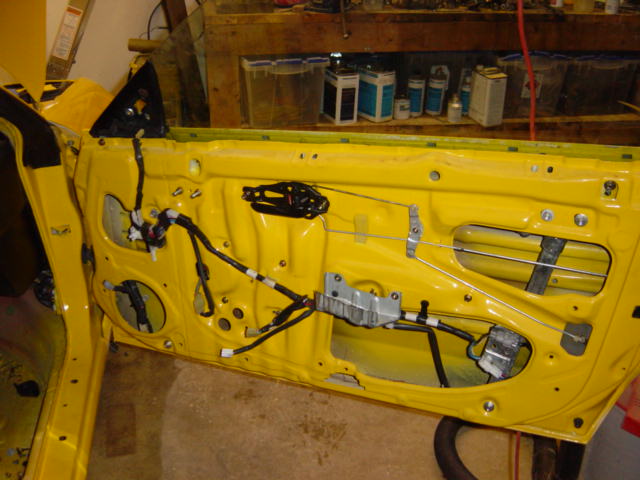
yes, I did fully disassemble the doors. I was determined to get rid of all the red!
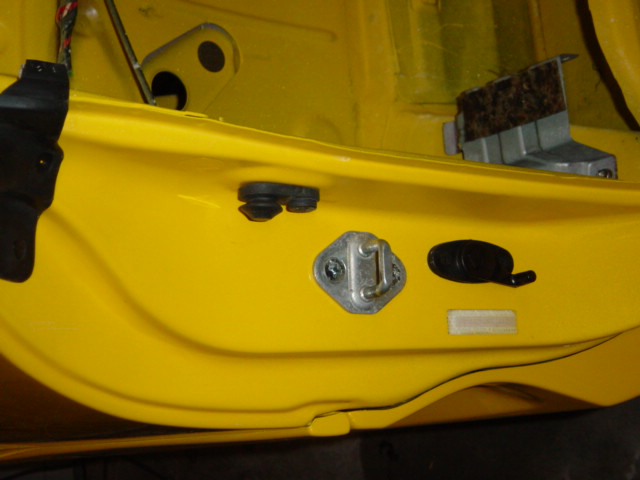
Door Jamb. Notice I kept the original vin stickers.
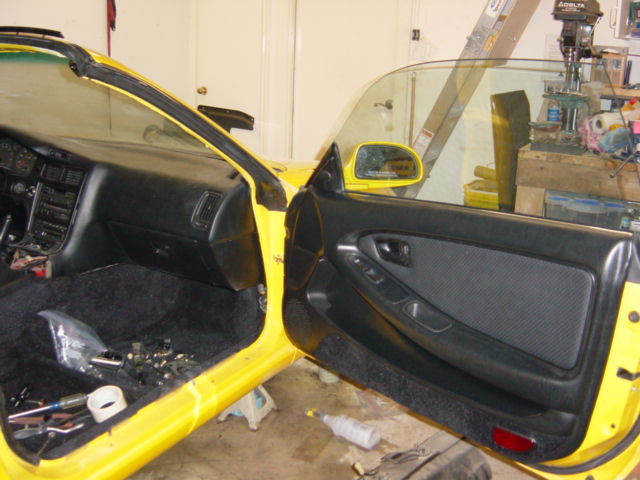
Putting the interior back together.
Just a random shot of something
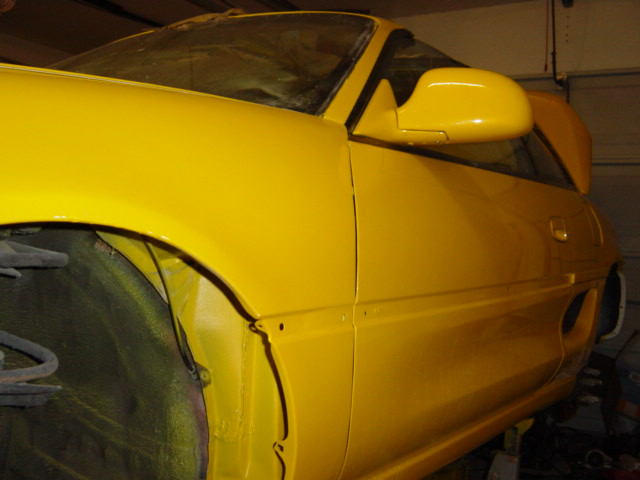
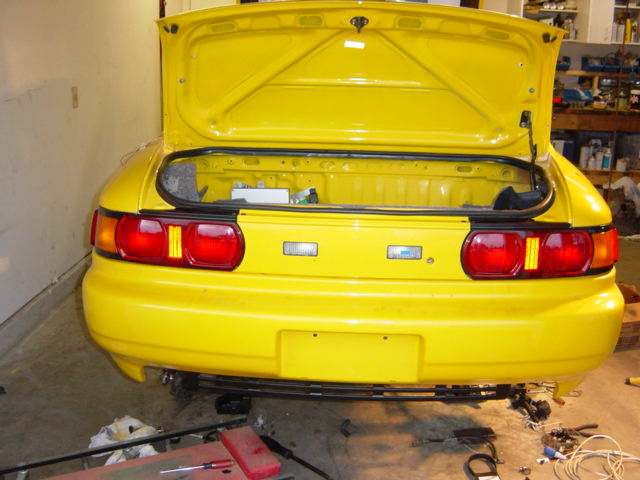
A shot of the rear of the car.
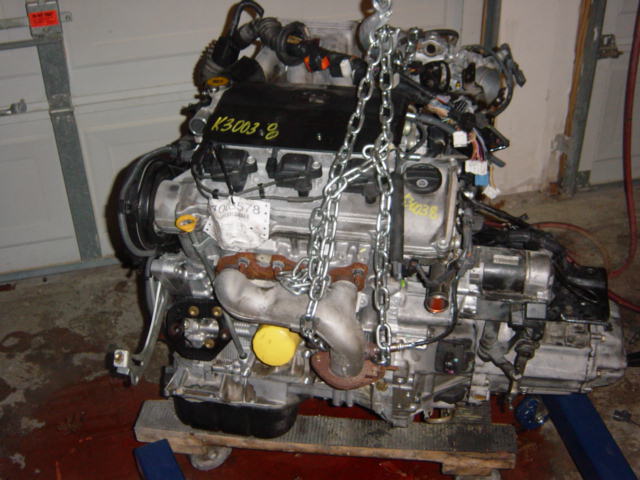
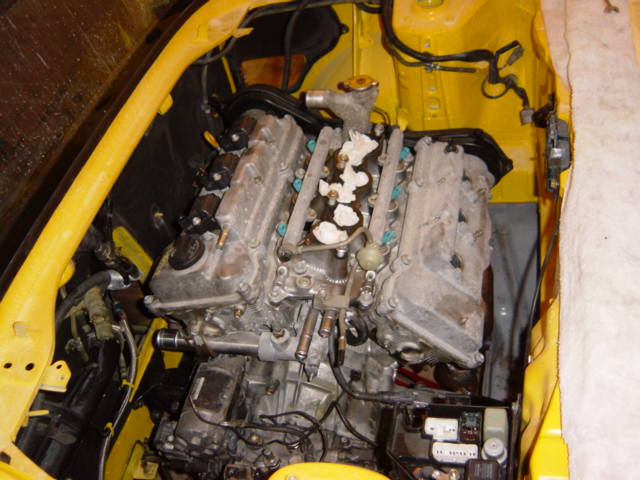
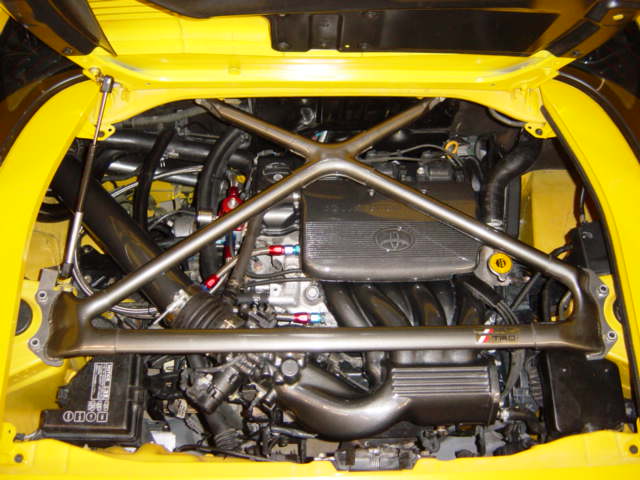
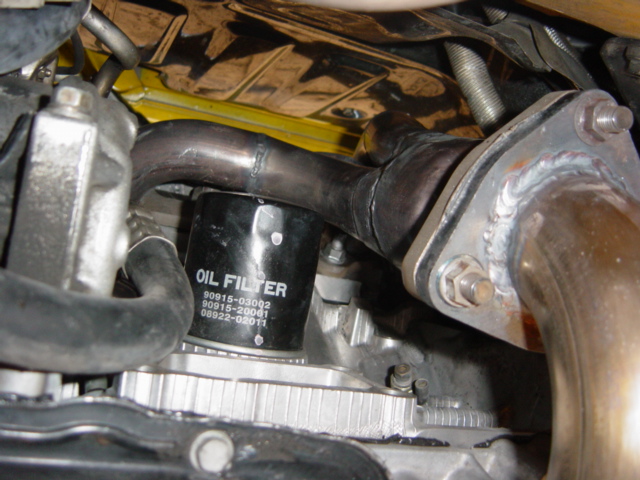
The new engine. This was a low mileage ’99 solara engine and transmission. I ended up marrying the solara and mr2 transmission to make a setup that worked for the chassis.
To my knowledge, this was the first or one of the first SW20 v6 swaps.
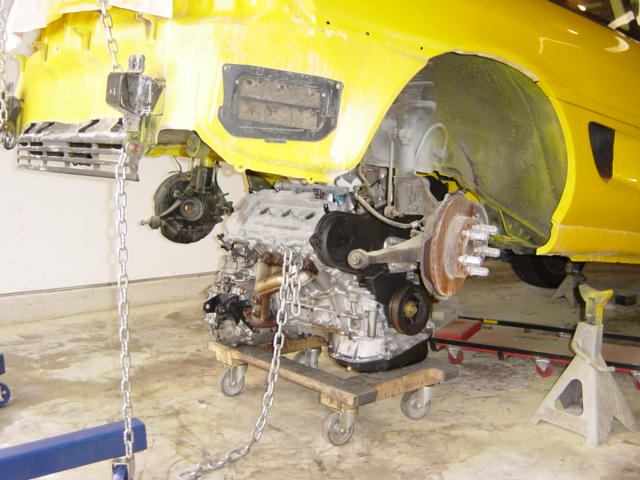
I lifted the back of the car with an engine hoist and rolled the engine in on a furniture dolley.
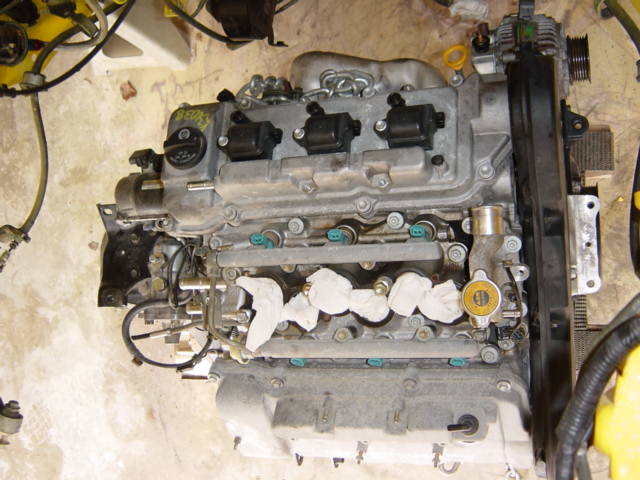
Just a random shot of the engine.
Here it is in the car. Looks like it belongs?
This was my second welding project, right after I built a welding table.
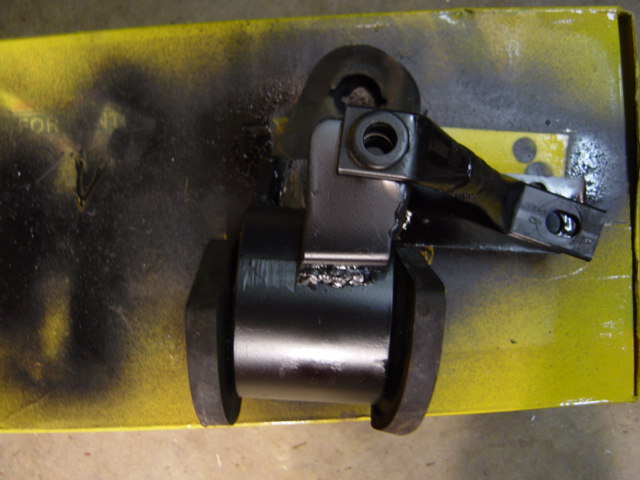
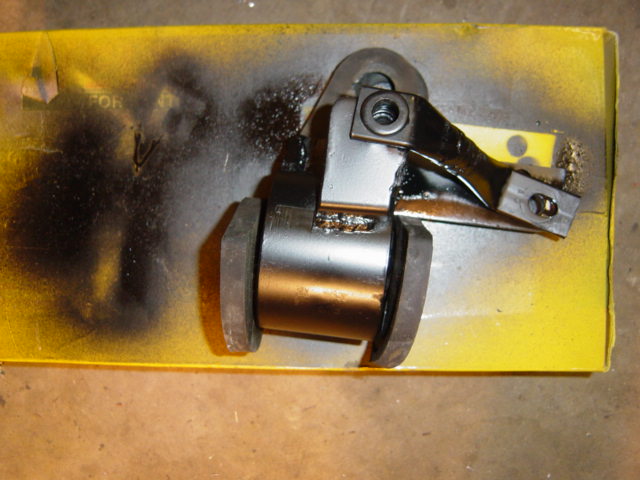
I hacked up a stock mount and added a plate to it.
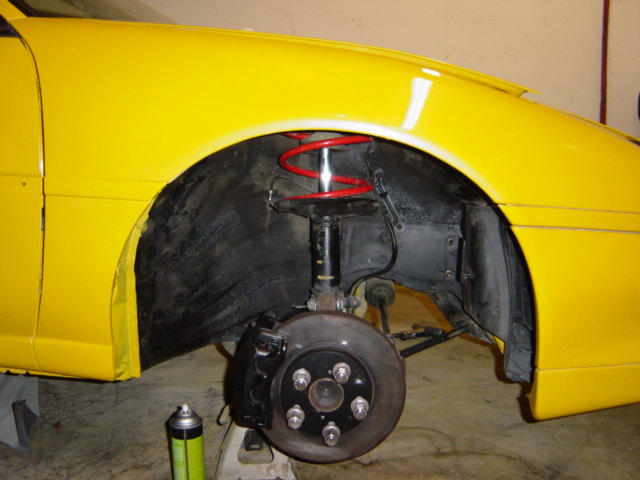
I sprayed the fender liner/frame and restored the brakes/etc.
Just a random shot of the car.
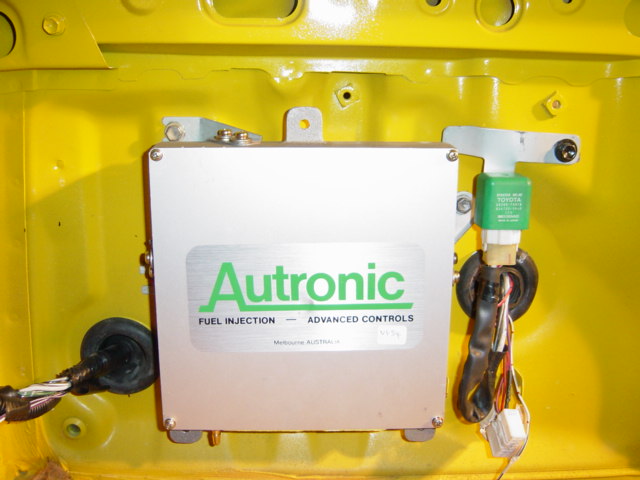
The Autronic. I’m still not sure this was the ‘right’ choice, but it worked well and gave me room to grow.
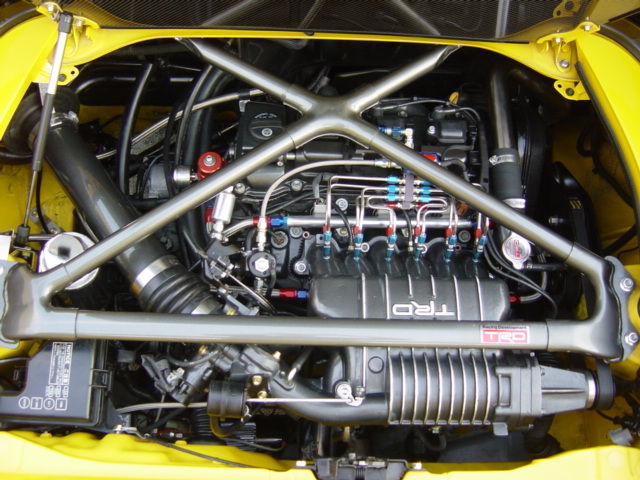
Fuel system coming together.

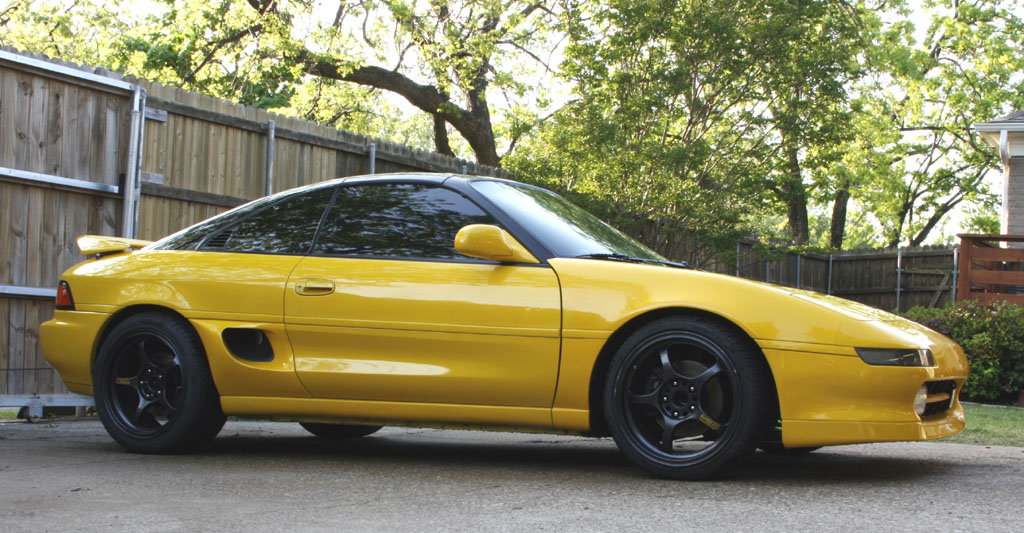
All Finished. Total time was about 2 months. I drove it to NA2003 on its maiden voyage. I had maybe 50 miles on it before I left. I didn’t pack a single tool…
All buttoned up.
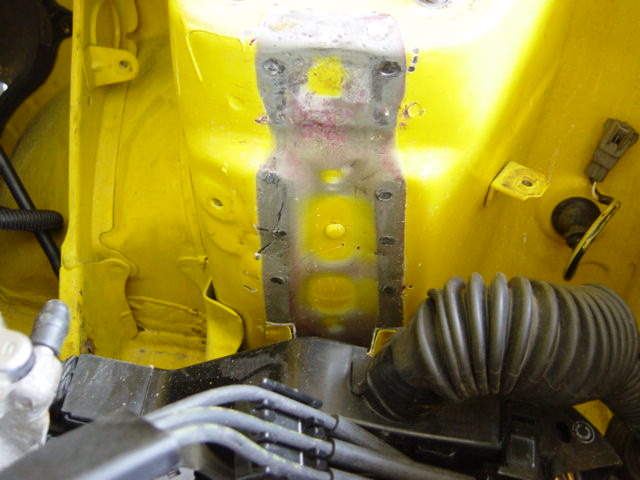
I found a clearance issue with the supercharger, so I had to cut this bracket out while still in the car.
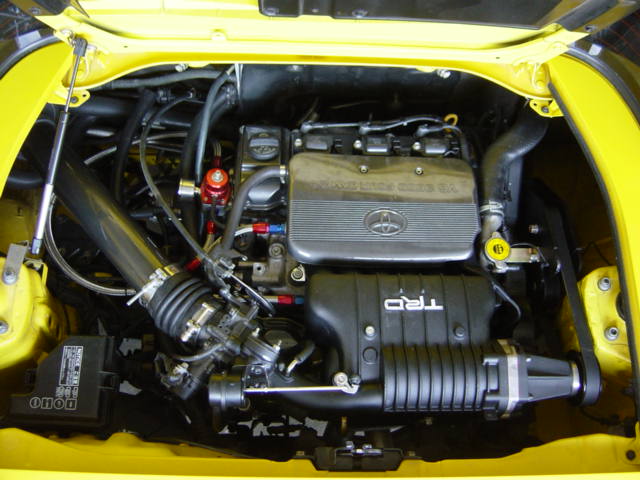
Supercharger installed. Looks like stock pulley at this point.
No project is complete with a bit of laughing gas.
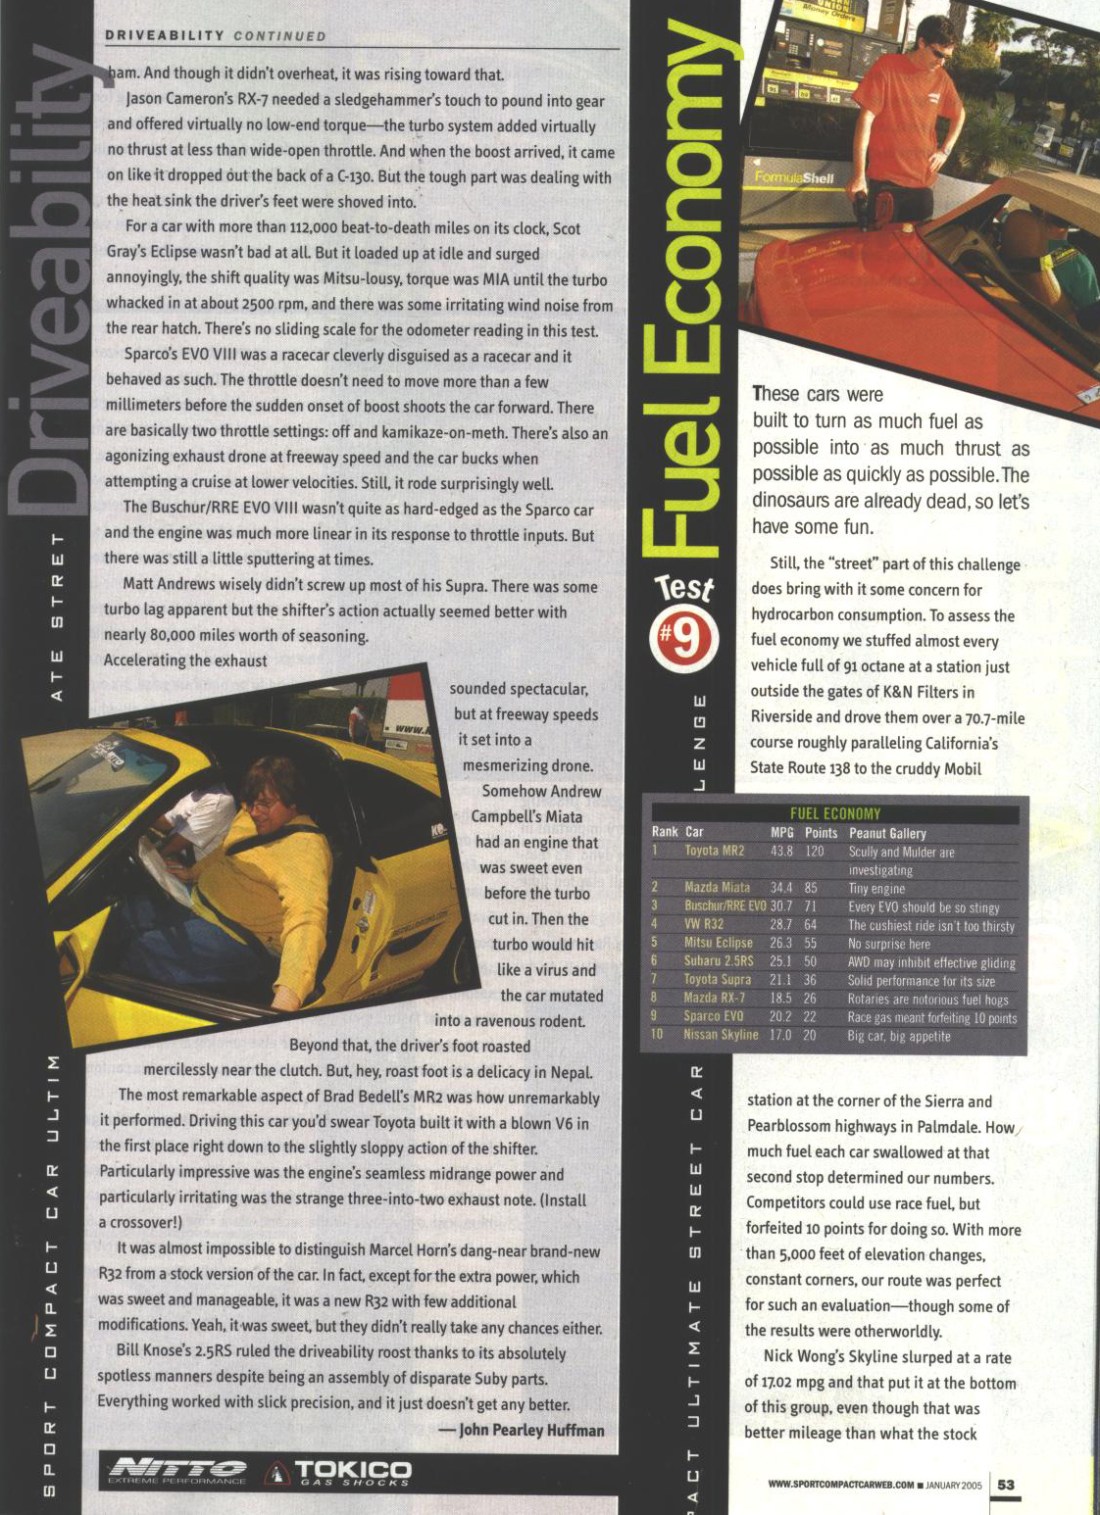
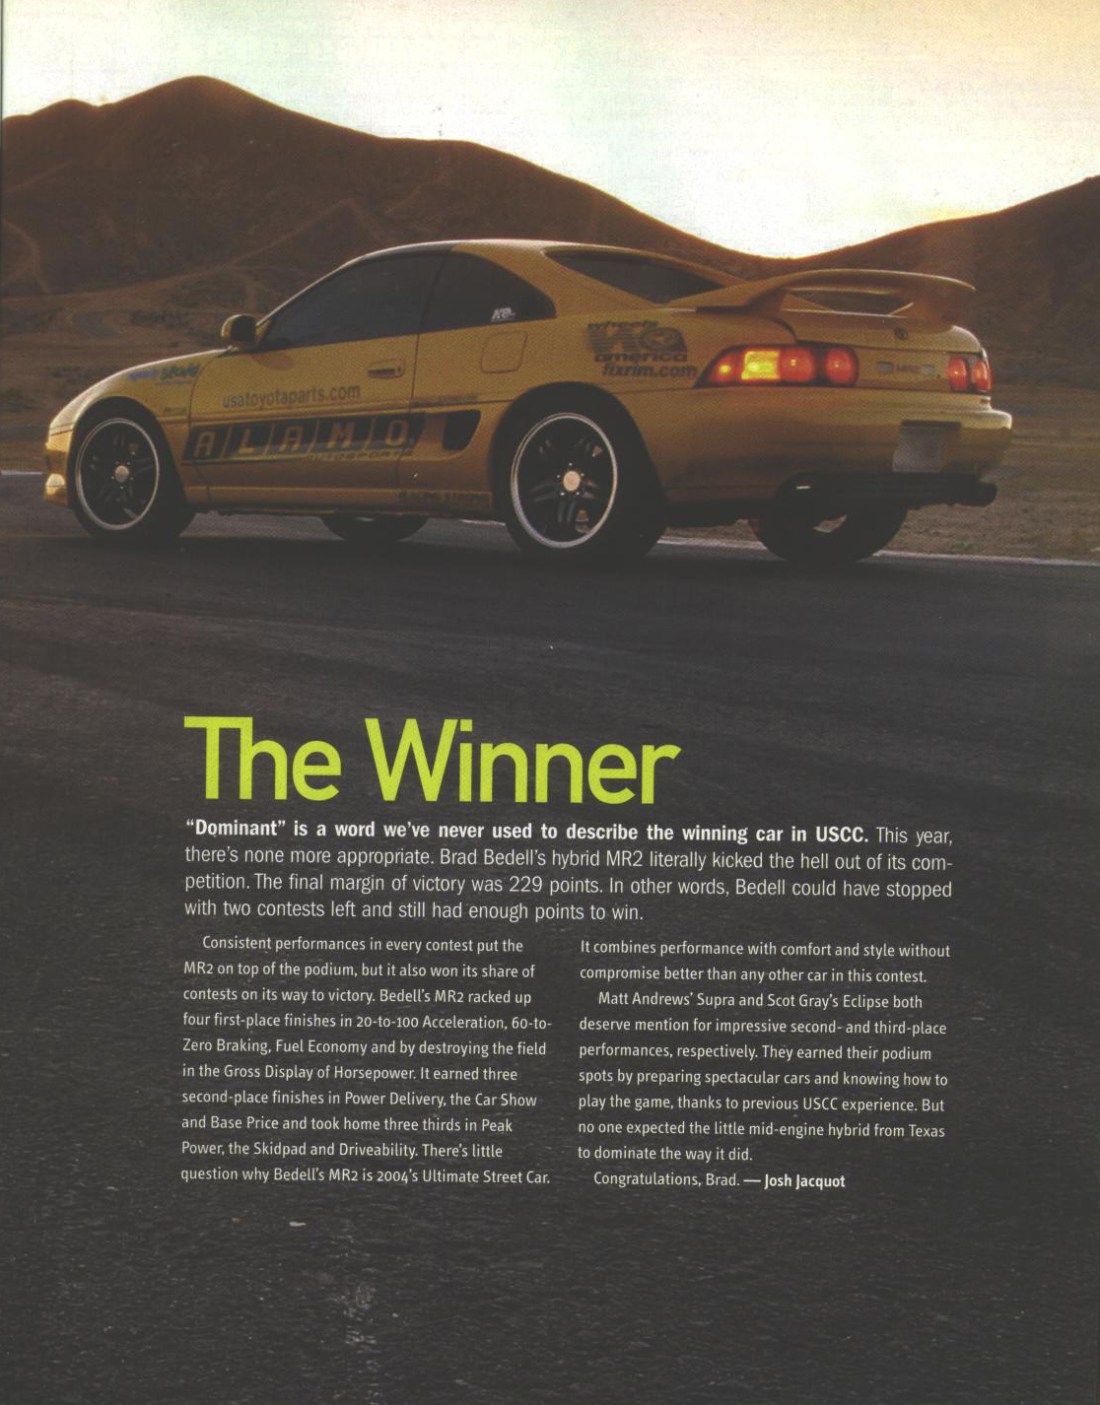
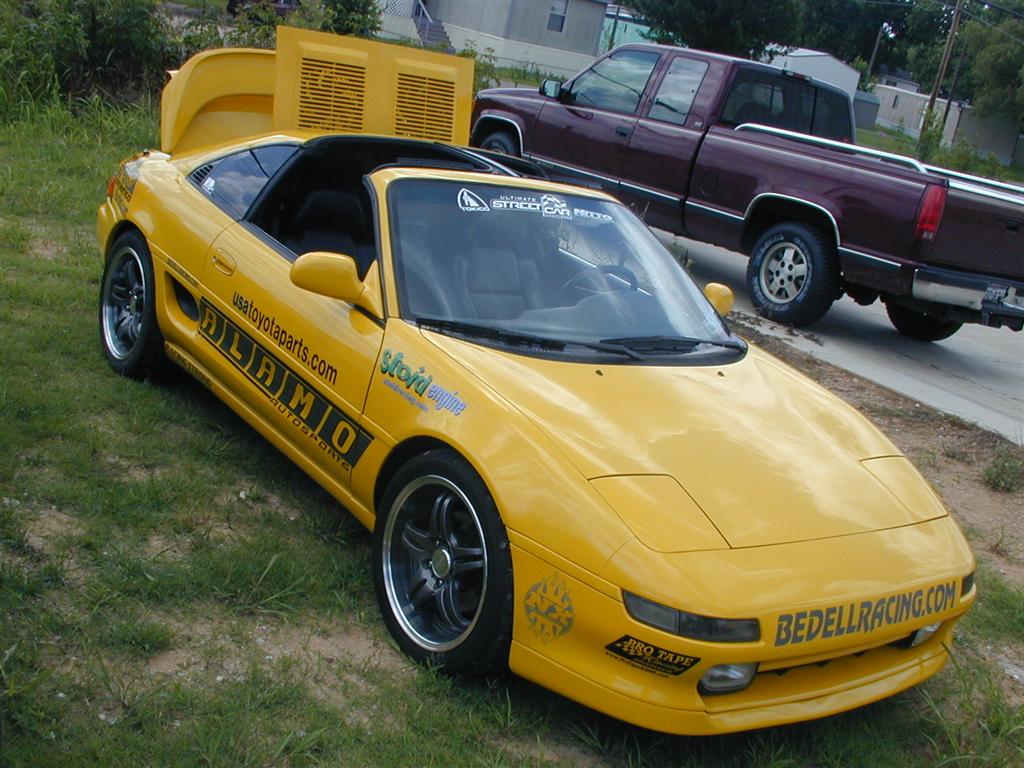
This is what put the V6 MR2 on the map. A friend of mine challenged me to some smack talk to Sport Compact car in order to enter the car. He finally convinced me by saying he’d drive out and tow me both directions if I got in. I think he choked on his words, but he was true and a great asset to the preparation for the event.
**Note** Place holders here for sponsor links:
Toyota of Richardson
Stoid Engines
Alamo AutoSports
Racing Strong
Wheels of America
ATS racing

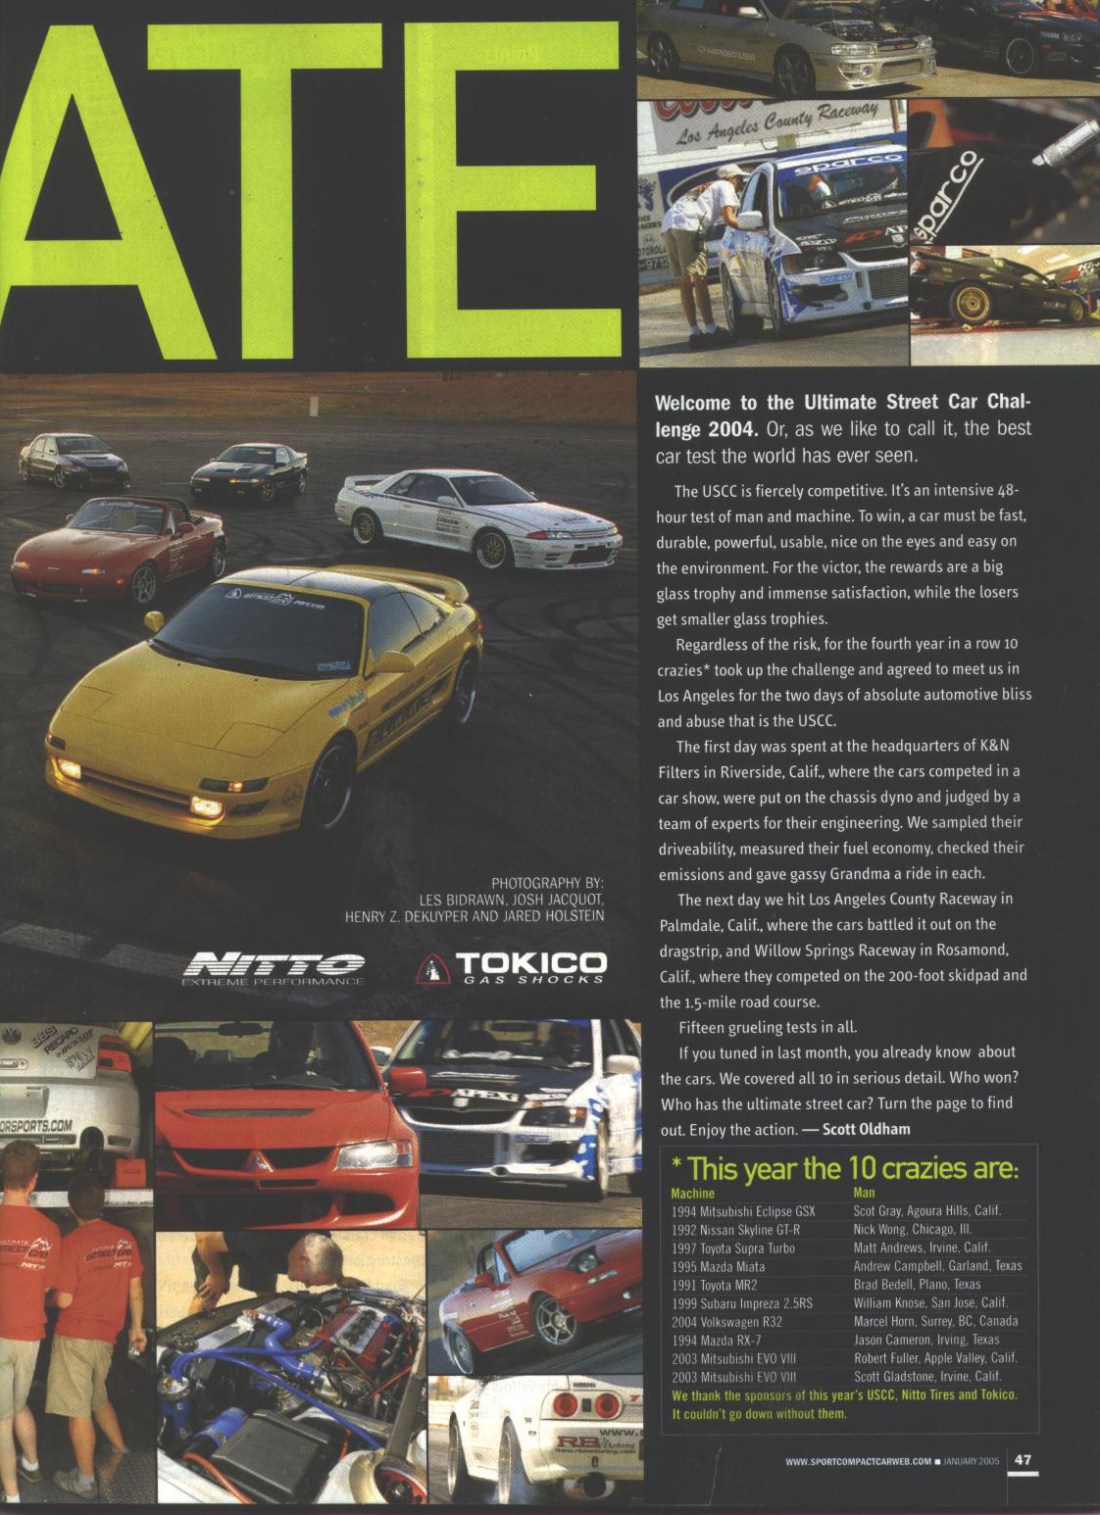

The photo above was the engineering inspection. I’m in the red shirt on the left and a longtime friend of mine is on the right.
Below are some random photos.
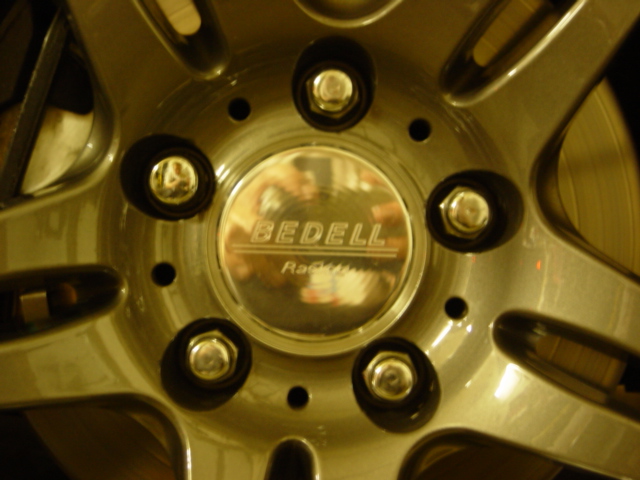
My first ever lathe project… Center caps.

Center caps after a light polishing and engraving.
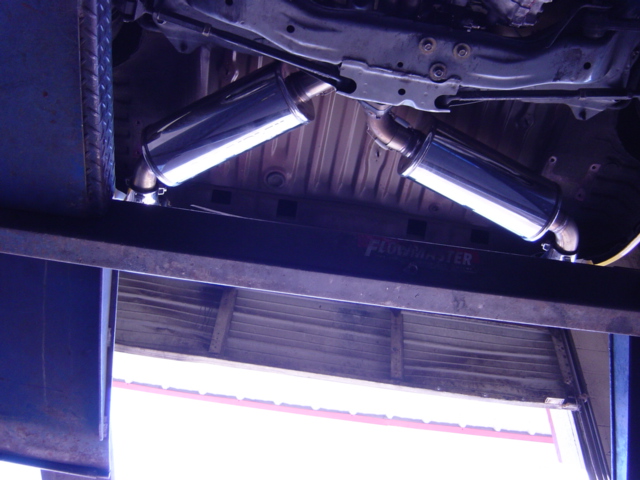
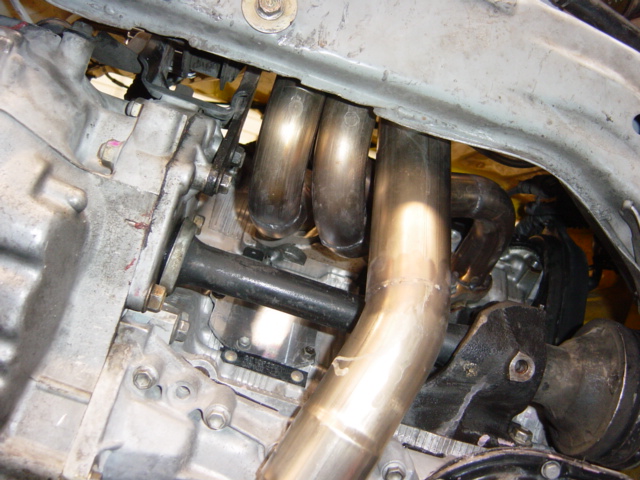
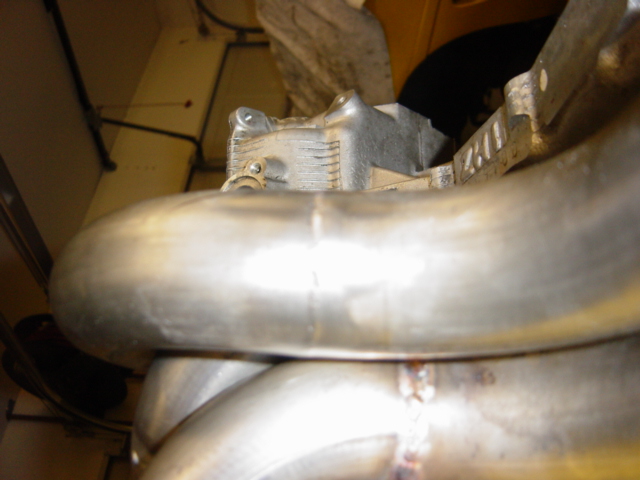
My first version of an exhaust.
My first prototype header.
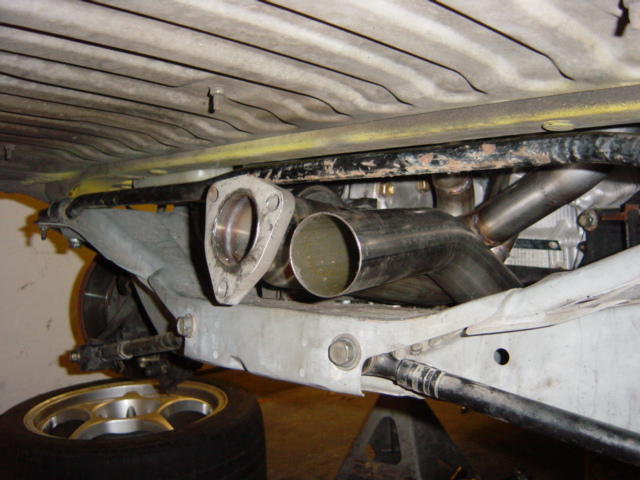
This is the rear view of the header from under the car.
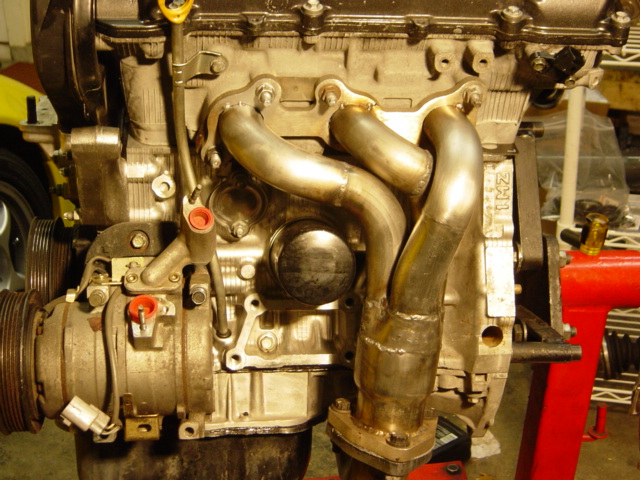
Mocking up the header/fitment.
First mockup of the header.
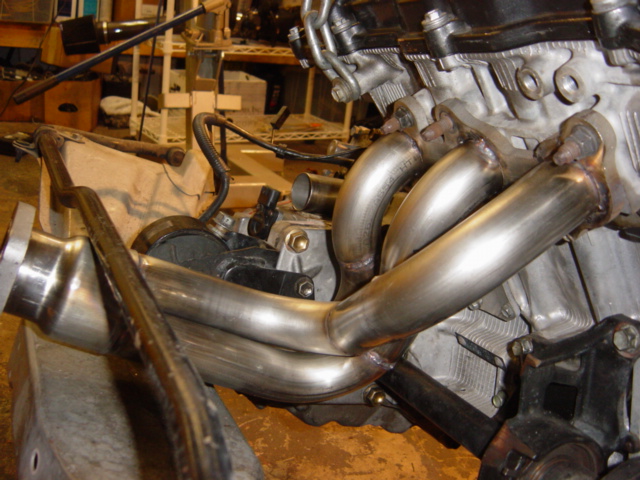
First rear header.
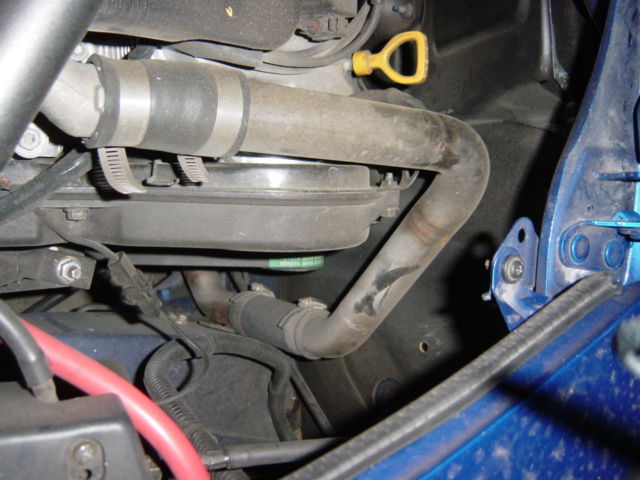
This was my wife’s car. A photo of the coolant pipe solution I came up with.
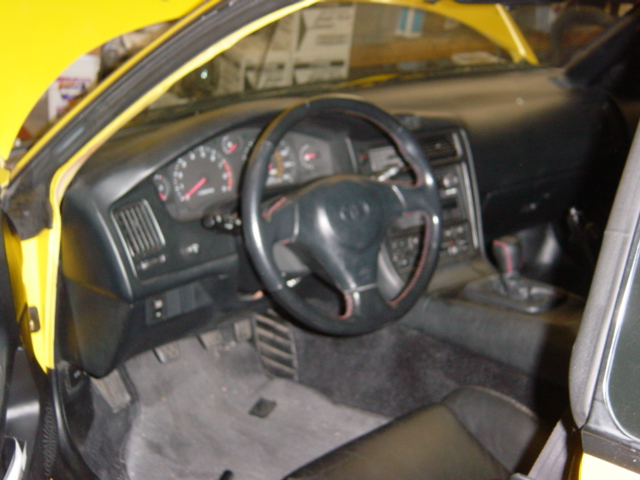
Steering wheel installed. Seems I couldn’t hold the camera still.
Photos at ATS after the USCC on a dyno day.
The final revision of the exhaust. This ended up working quite well. 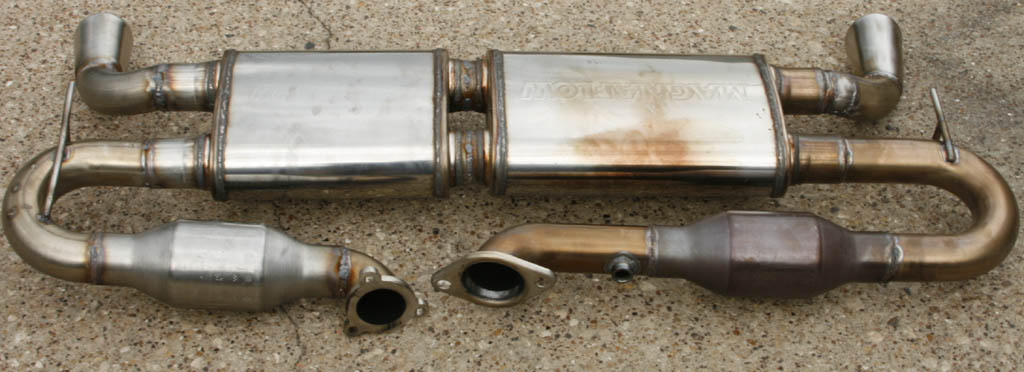
Who says MR2s can’t be workhorses?

This car was sold twice and I owned it again. this is how it came back to me and left back in 2007 or 2008.
One of the car at the USCC. I really needed more spring up front….
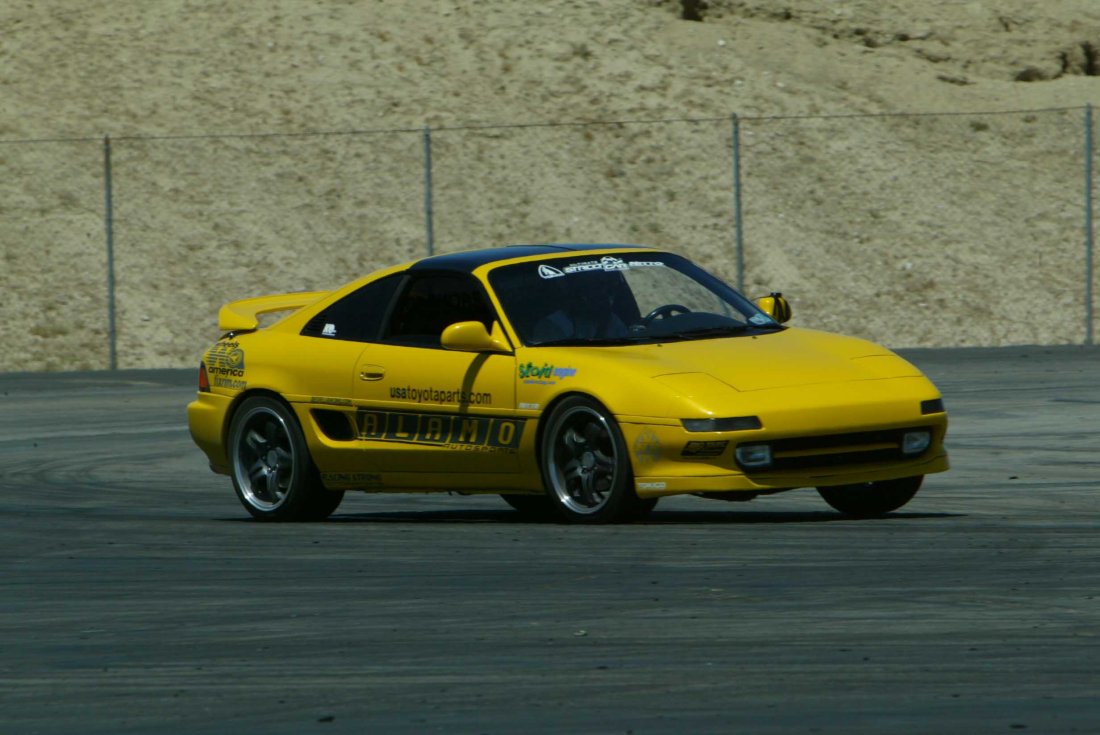
Another one at the USCC.